Two established measuring principles combined
In industrial production engineering, height profiles of workpieces with resolutions in the µm range are often measured as part of quality monitoring.
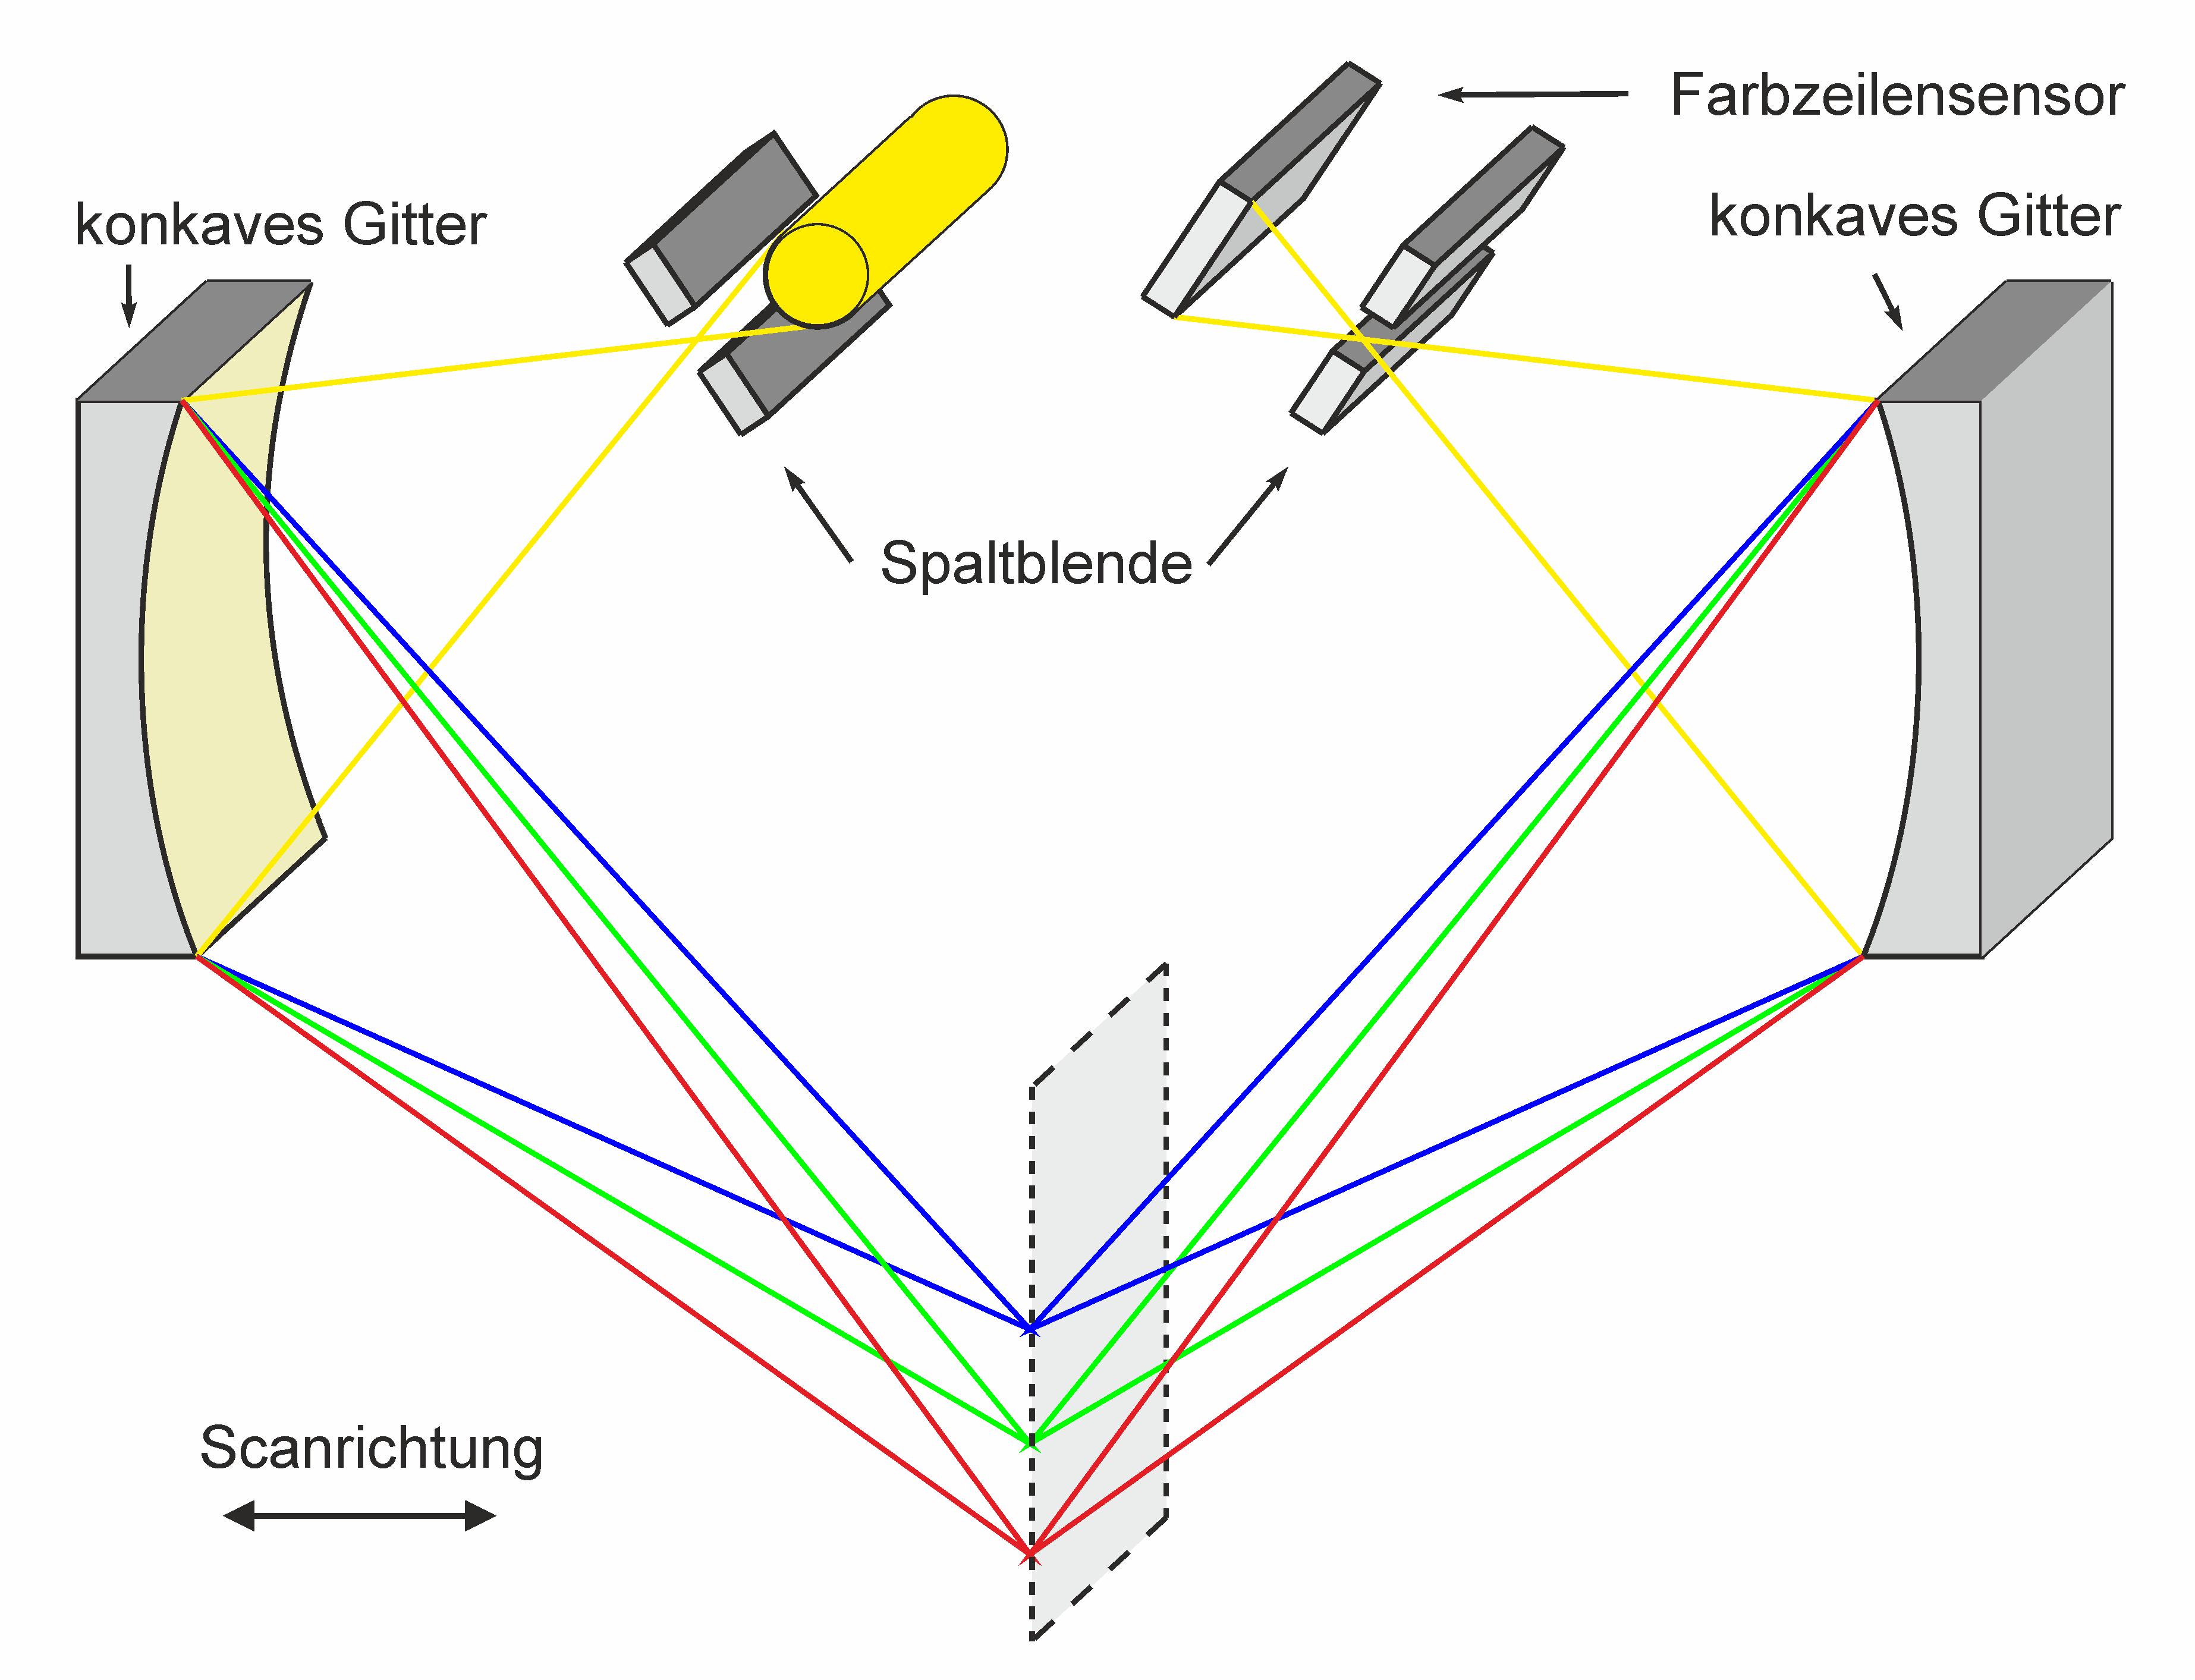
The confocal chromatic triangulation (CCT) sensor was developed to measure a three-dimensional surface topography. Similar to a line scan camera, the target is scanned and the height information is measured directly. Part of the sensor concept is a line scan camera with several colour channels, which allows a line frequency of up to 140 kHz, with several thousand measuring points per line. The CCT sensor was designed for direct use in production and is characterised by its great flexibility. The surface of the measured object can be a perfect mirror, but can also have a fully diffuse, textured or coloured surface. The individual measuring points are directly adjacent to each other and cover a few µm depending on the optical design.
 Fraunhofer Institute of Optronics, System Technologies and Image Exploitation IOSB
